CPSC 324, Spring 2004
Lab 6: 3D Graphics with POV-Ray
THIS LAB IS AN INTRODUCTION to three dimensional graphics with POV-Ray, a ray-tracing program that can produce high-quality graphics images. (To see what can be done with ray-tracing, you might want to look through the large collection of images from the Internet Ray-tracing Competition at http://www.irtc.org/stills/index.html.) POV-Ray is not an interactive program. It reads an input file that specifies the objects and lights in a scene, plus information about the camera. It then renders an image of the scene as viewed by the camera. The input file used by POV-Ray is a kind of program written in a scene description language. This language is discussed later on this page.
There are two exercises for the lab. The exercises are due next Wednesday. You should turn in printouts of the two scene descriptions files that you create for these exercises, and you should post the images on your Web site. Copies of the sample scene description files discussed in this lab can be found in the directory /home/cs324/lab6/. They can also be downloaded using links on this page. For both of the exercises, you can use ideas from the file starter.pov. Here are the exercises.
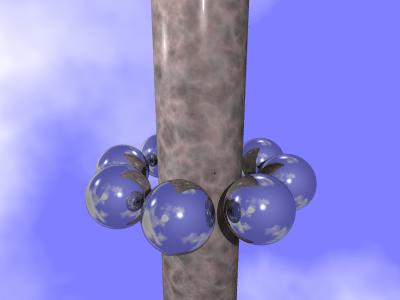
Exercise 1: Write a POV-Ray scene description that shows a circle of six or more spheres surrounding some other object. A floor is optional. Make two images of your scene, from different viewpoints. (That is, make an image, modify the camera, and then make another image using the new camera.) Polished chrome and glass spheres will probably produce attractive images. As an example, see my image one and image two of eight polished chrome spheres surrounding a long pink alabaster cylinder.
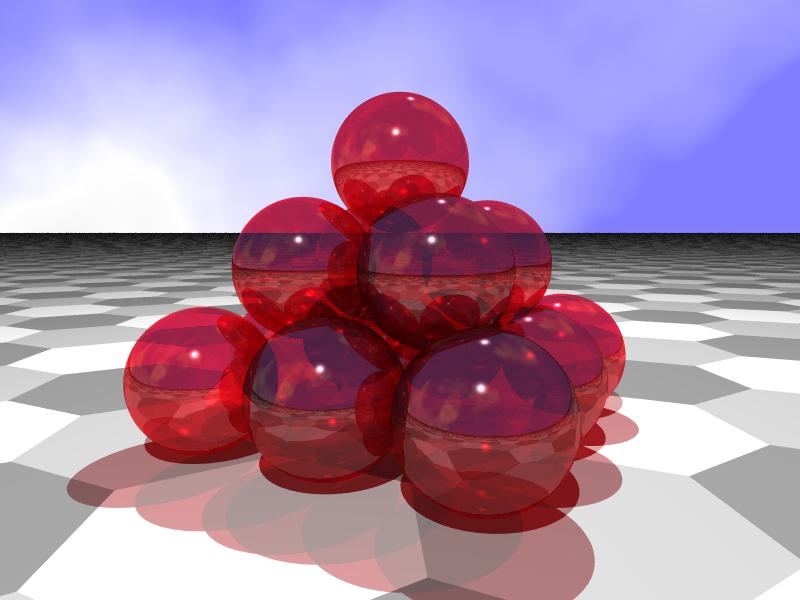
Exercise 2: Design a second POV-Ray scene description of your own creation, and use it to create an image. For example, I made a pyramid of red glass spheres. (You could always try making a snowman...)
Ray Tracing with POV-Ray
To get started with POV-Ray, get a copy of the file starter.pov. I have written this file to show how to use some of the objects and materials that are available in POV-Ray. You should start by using POV-Ray to render this file. Try the command:
povray starter.povThis will produce a rendered image of the scene and store it in a file named starter.png. You can view this image, for example, with the display command:
display starter.pngHowever, the default image is very small and is not anti-aliased. You can fix this by adding some options to the command. Also, you can add an option that will let you see the image as it is being created. Try this command:
povray +D +A +W800 +H600 starter.povThe "+W" and "+H" options specify the width and height of the image. The "+A" tells POV-Ray to do anti-aliasing. The "+D" says to display the image as it is being produced. The image stays on the screen only while POV-Ray is running. After it is finished, you can still use the display command to view it.
POV-Ray produces a PNG image by default (which, as you know, uses lossless compression and therefore doesn't lose any of the image's details). But ray-traced images are photo-realistic, and so the PNG images are rather large. For posting on the Web, you should prefer JPEG images. Linux has a nice command-line utility, convert, for converting graphics files from one format to another. You can use it to convert starter.png into a JPEG image with the command:
convert starter.png starter.jpgThis makes a new file named starter.jpg; it does not delete starter.png.
The Scene Description Language
The main point of this lab is to use POV-Ray's scene description. (One reason for doing it now is to give you some experience with thinking in terms of three-dimensional coordinates.) Open starter.pov in a text editor. You will see that a POV-Ray scene description looks a little bit like a C++ program. For example, comments in a .pov file have the same syntax as C++ programs, curly braces are used for grouping, and the scene description starts with some #include statements.
The file begins by including two files, colors.inc and textures.inc. These files define names that can be used in the scene description to represent certain colors and textures, such as the color name "White" and the texture name "PinkAlabaster". (All the standard include files can be found in the directory /usr/share/povray-3.5/include, so you can take a look at them if you like.)
The remainder of the scene description consists of a sequence of object/light/camera specifications that set up the scene. The first object is a camera:
               camera {
                 location <3, 3, -6>
                 look_at  <0, 1,  0>
               }
This shows the general format of object definitions. The name of the type of object is stated ("camera" in this case) followed by the information needed to define the location, size, appearance, etc., of the object. This information is enclosed between { and }. In this case, the information consists of the location of the camera and the point that it is looking at. In POV-Ray, points are specified using angle brackets, < and >, so <5,10,-3> would be the point with x-coordinate 5, y-coordinate 10, and z-coordinate -3. The positive direction of the z-axis points into the screen. (This is the opposite convention from OpenGL.) This means that negative z-coordinates are "in front of the screen," and positive z-coordinates are "behind the screen." The camera location, <3,3,-6>, places the camera 3 units to the right of the center of the screen, 3 units up, and 6 units in front of the screen.
Following the camera, two light sources are specified. For the light source
               light_source {
                 <5, 18, -15>
                 color White
               }
the first item of data, <5,18,-15>, specifies the position of the light. The light is a point source at this position. The second line specifies the color, using a color name defined in the include file, colors.inc. (It is possible, by the way, to define colors using floating point RGB values between 0.0 and 1.0. The syntax is "rgb <R,G,B>", where R, G, and B should be actual numbers. For example, you could specify a yellowish color for a light with: color rgb <1,1,0.6>
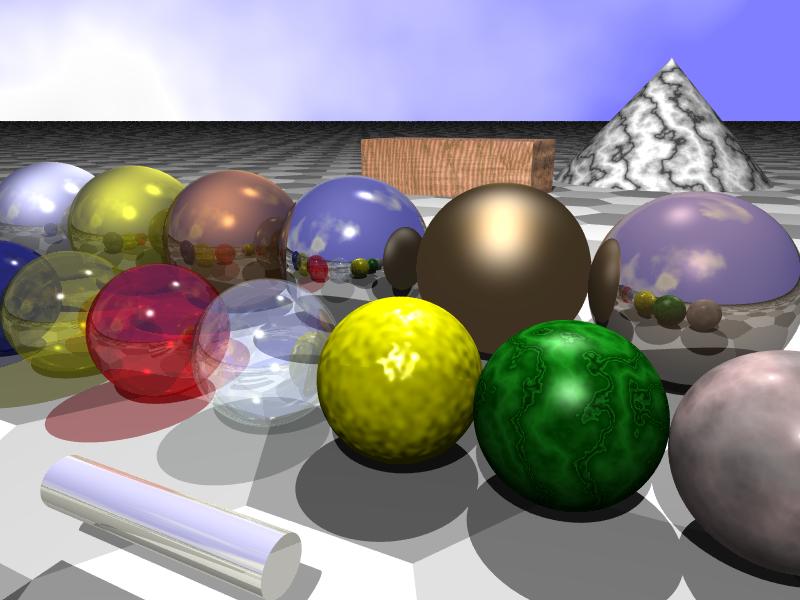
Let's take a look at the first actual object specification in starter.pov, which describes the ugly, bumpy yellow sphere in the center of the image:
               sphere {
                 <0, 0, 0>, 1
                 texture {
                   pigment { color Yellow }
                 }
                 normal {
                    bumps 0.3 scale 0.1
                 }
                 finish {
                    phong 1
                 }
               }
In this specification, the type of object is sphere. The first item in the data for the sphere, <0,0,0>, is the center of the sphere. This is followed by the radius of the sphere, 1. The other data items--a texture, a normal map, and a finish--determine the appearance of the surface of the sphere. In this case, the "texture" is simply a yellow "pigment", that is, a solid yellow color. The "normal" specification is a so-called "bump map" that makes the surface look bumpy. The "finish" adds a reflective hilite. Other items can also be added to an object specification, including interior properties for hollow objects and transformations. And the properties can get very complicated.
Fortunately, POV-Ray makes it possible to define names that specify complex surface textures. For example, look at the second sphere in starter.pov:
               sphere {
                  <2, 0, 0>, 1
                  texture {
                    Jade
                  }
                  finish {
                     phong .5
                     phong_size 20
                  }
               }
Here, "Jade" defines a pigment that is supposed to look like jade. I added a finish to this, since without the finish, it looks non-reflective and dull. For most of the objects in the scene, however, I simply used a pre-defined texture with no modification. For example, the most reflective of the spheres is defined as:
   sphere {
      <-3,.5,4>, 1.5
      texture {
         Polished_Chrome
      }
   }
As you do the exercises for this assignment, you can use the surface textures from the starter.pov file, so you don't really need to know much about POV-Ray surface materials for this lab.
In addition to a number of spheres, the sample scene contains examples of other types of objects: cone, cylinder, box, and plane. Examples are given near the end of the file. The file has comments that explain the meaning of the parameters for these objects types. Finally, there is a sky_sphere object that defines the overall background of the image.
For each exercises in this lab, I suggest that you create a new file and cut-and-paste whatever you need from starter.pov into the new file, where you can edit it as necessary.