| CPSC 225 | Intermediate Programming | Spring 2022 |
The purpose of this lab is to introduce you to the Eclipse IDE. IDEs (or integrated development environments) combine the basic tools of software development - an editor and a compiler - with other useful things such as automation of the build process, a debugger, code-generation tools, and support for quickly browsing and navigating the files in a large software project. Programming can certainly be done without an IDE, but a good IDE can help streamline the process and make development faster and easier.
We will be using Eclipse, an open-source IDE originally developed by IBM. Learning to use an IDE will make it easier to develop and manage large programs, and is a useful "real world" job skill. Eclipse, in particular, is nice because it is freely available and supports multiple languages (so you don't have to switch IDEs if you switch programming languages). It is also a real piece of software, used in actual software development environments - it's not a simplified teaching tool.
This lab will introduce some of the fundamental concepts in Eclipse as well as some of its most useful features. There's a lot more Eclipse can do (though not all of it is relevant at this point) - feel free to explore.
A project contains all of the files associated with a single program. A workspace contains a collection of projects along with preferences and settings (like code formatting conventions) common to those projects. This organization allows you to configure Eclipse in different ways simultaneously without having to repeat configuration steps when settings are common to many different projects.
When you run Eclipse, what you see in the Eclipse window is the workbench. The workbench window contains various editors and views allowing you to see and interact with your program. A particular configuration of editors and views is known as a perspective. We will primarily use the Java perspective in its default configuration, though it is possible to customize any perspective if you wish.
You will need a workspace directory for your Eclipse projects.
If you haven't already done so, create a directory ~/cs225 to hold all of your files for this course. (Recall that the path ~/cs225 means that the cs225 directory should be created in your home directory.)
Create a directory ~/cs225/workspace to be your workspace directory.
You can create multiple workspace directories if you use Eclipse for different things e.g. you might have one workspace for your CPSC 225 projects and another for projects for another course. Having separate workspaces allows you to keep unrelated projects separate from each other, and also facilitates applying different settings (such as code-formatting conventions) to different sets of projects.
Since Eclipse is something you will use often, you may want to make a shortcut for it:
Locate Eclipse in the Applications menu (but don't run it).
Drag the Eclipse icon from the Applications menu to the panel (likely at the bottom of the desktop); place it near the other launcher icons (likely on the left side of the panel).
The final setup is to configure Eclipse to use your workspace directory, and to use the code-formatting and other conventions we'll use for this course.
Start Eclipse.
The first time you start Eclipse, you will be prompted to specify a workspace directory. All of the programs you write for this course should go into the ~/cs225/workspace directory that you just created.
When you are prompted to choose a workspace, specify your ~/cs225/workspace directory. If you are only using Eclipse for this course, you can check the "Use this as the default and do not ask again" box - otherwise Eclipse will prompt you for the directory every time it starts up. (You can always change to a different workspace once Eclipse is launched.)
If you are not prompted for a workspace (perhaps you've used Eclipse before), you can choose "File"→"Switch Workspace"→"Other..." once Eclipse starts up. Then specify ~/cs225/workspace as the workspace directory.
If you are starting Eclipse for the first time with a new workspace, you should see a welcome screen like the following:
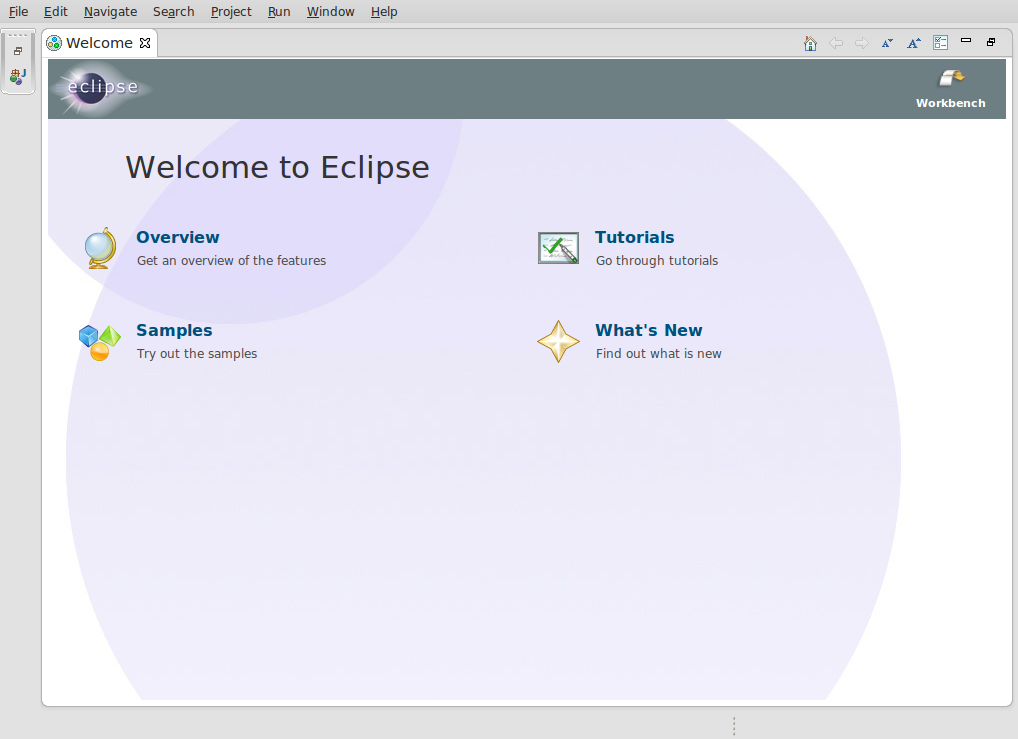
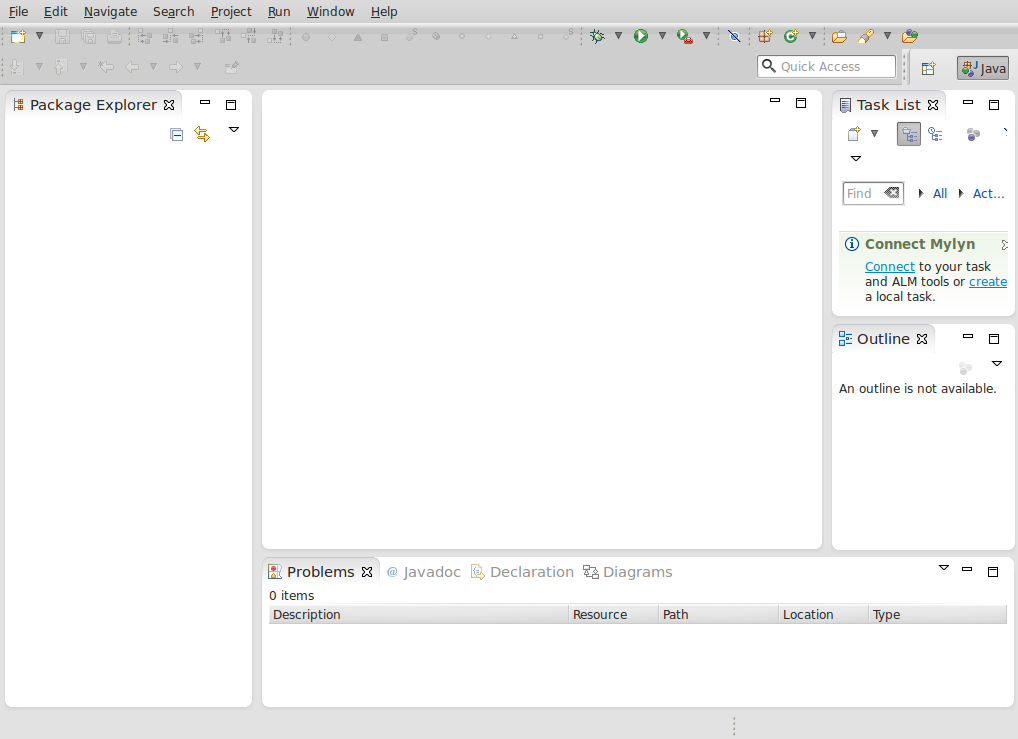
Close the welcome screen to get to the workbench display shown below. (If you have previously started Eclipse with a particular workspace, it will go straight to the workbench display, bypassing the welcome screen.)
One useful feature of an IDE is the ability of the IDE to handle some of the grunt work for you, such as auto-formatting and auto-generating code. Since there are different conventions, these settings are user-configurable. The rest of this section deals with specifying the configuration that we'll be using for this course. Note that all of these settings are workspace-specific - if you install Eclipse on your own computer (and create a new workspace there), you will need to repeat this configuration there. Similarly, if you create another workspace for another course, you will also need to repeat this configuration (or specify a different configuration). You do not, however, need to redo these steps each time you create a new project within an existing workspace.
From the "Window" menu, choose "Preferences". On the left side, expand "Java".
Specify how code should be formatted:
Expand the "Code Style" item under "Java", then click "Formatter".
On the right side of the window, click "Import..." and then navigate your way to /classes/cs225/eclipse (start with "File System" and then double-click on each directory in turn).
Highlight cs225-formatter.xml and click "OK".
Make sure that cs225 is shown as the "Active profile".
Specify options for code generation:
Expand the "Code Style" item under "Java", then click "Code Templates".
On the right side of the window, click "Import..." and then again navigate your way to /classes/cs225/eclipse.
Highlight cs225-codetemplates.xml and click "OK".
At the bottom of the right side of the window, click the "Automatically add comments for new methods, types, modules, packages and files" box. (It should be checked.)
Tell Eclipse about the convention of naming instance variables ending with _:
Choose the main "Code Style" entry under "Java".
On the right side of the window, click on "Fields" in the box under "Conventions for variable names:" to highlight it, then click the "Edit..." button. In the box that pops up, enter _ (an underscore) in the "Suffix list" box and click OK.
Tell Eclipse to enforce Java 17 syntax rules:
Choose the main "Compiler" entry under "Java".
Set the compiler compliance level to 17.
Tell Eclipse to store compiled classes separately from source files:
Choose the main "Build Path" entry under "Java".
Make sure that the "Folders" option is selected under "Source and output folder", and that the source folder name is src and the output folder name is bin.
Configure the Java 17 JRE with the VM options needed for JavaFX:
Choose the main "Installed JREs" entry under "Java".
Select the openjdk 17 JRE in the list and click "Edit...". (Ask if there's more than one choice and/or you aren't sure which to pick.)
Fill in the "Default VM Arguments" box with --module-path=/opt/jfx17/lib --add-modules=ALL-MODULE-PATH (Make sure you include the -- at the very beginning!)
Click "Add External JARs...", navigate to /opt/jfx17/lib, and select all of the files there.
Click "Finish".
Configure the default Java 17 environment to be the one you just set up for JavaFX:
Expand the "Installed JREs" item under "Java", then click "Execution Environments".
Click "JavaSE-17" in the list of execution environments to select it, then click the only item in the list of compatible JREs to toggle the checkbox on. (Ask if there's more than one.)
Finally, click "Apply and Close" at the bottom of the Preferences window to apply the new settings and close the window.
Java development work is done in the Java perspective. If your Eclipse window doesn't look like the following, ask for help getting there.
Time to create a program! There are five basic steps: switching to the Java perspective (usually you'll already be there), creating a project to contain your program's files, creating a main program, writing some code, and running the program.
Open the Java perspective:
Create a project:
Create a main program:
Write some code:
Run the program:
As you type code, Eclipse tries to be helpful - it pops up warnings and suggestions for code completion, and puts all sorts of little markers and icons in and next to your code indicating syntax errors and other things. To further explore how Eclipse can help you find and fix syntax errors, do the following to your (working) hello world program:
Delete the final "n" in System.out.println so it reads just System.out.printl.
Delete the semicolon at the end of the System.out.println statement.
Add the statement
x = 5;after the System.out.println statement.
Delete the closing } of main.
As you make these errors (deliberately), notice that a squiggly red underline marks the location of a potential problem, red X icons in the left margin of the editor tab mark lines with errors, and several red rectangles in the right margin of the editor tab indicate the presence of errors within the file as a whole.
Save the file (with the errors).
You should notice that red Xs indicating the presence of errors now appear next to the file and the project in the Package Explorer.
Now, let Eclipse help you fix the errors:
Mouse over each of the red X icons in the left margin of the editor window. (Don't click, just move the mouse pointer and pause for a moment.) A message should pop up telling you what the error is. (Note that these are the same messages you would get if you compiled manually with javac. As with any compiler error message, they should be taken with a grain of salt - some syntax errors confuse the compiler so much that it doesn't know what the actual problem is.)
Click on the lightbulb with the red X (on the x = 5; line). This will bring up a list of possible fixes; clicking once on the one you want shows you what the fix will look like and double-clicking applies the fix to your code. Often the correct choice is at or near the top of the list, but not always - as with any error-fixing, make sure you understand what the actual problem is and how it should be fixed before making any changes. (In this case the correct option is to remove the assignment as it doesn't belong in the program.)
Repeat the process to fix the other errors. Sometimes clicking on a red X won't bring up a list of fixes. In that case, you'll need to make the change yourself. It is not a bad idea to save the file after each fix to ensure that Eclipse notices the code has changed and recompiles.
Save the file. All of the error icons, both in the editor window and in the Package Explorer, should be gone.
Packages are an important way of organizing the potentially many classes within a program and Eclipse is eager to put new classes into a package. For now, however, using the default package is fine. (That's why you deleted the entry in the "Package" box when you created HelloWorld.)
If HelloWorld.java isn't listed under "(default package)" in the Package Explorer:
Drag HelloWorld.java to the "src" folder. (Alternatively you can delete the package line at the beginning of HelloWorld.java, save the file, and then choose the fix that moves the file to the default package.)
Delete the unwanted package in the Package Explorer.
Another handy feature in Eclipse is auto-formatting - so there is no excuse for handing in poorly-formatted code!
Deliberately make some "mistakes" in the whitespace (they aren't really mistakes, just violations of our preferred convention) - remove the indentation before a few lines or add extra indentation, put a line break after one of the dots in System.out.println, put a line break before the open curly bracket for main, etc.
Press Ctrl-Shift-F (or choose "Source"→"Format" from the menu) and watch everything be magically fixed!
Save the file.
Frequently auto-formatting your files helps with readability and can help reveal bracket-nesting errors.
You will typically make use of objects of many different types in a program, and the class definitions for each of the objects you want to use must be available to both the compiler (javac) and the runtime system (java). By default, the system looks for any classes that aren't part of the standard Java libraries in the same directory as the rest of your program - which, for Eclipse, means they are included in the same project.
Often you will be creating classes from scratch, but Eclipse also allows you to import existing files into a project. To do this:
Right-click on the project name in the Package Explorer and choose "Import..."
Expand the "General" tab and select "File System", then click "Next>".
Browse to the directory containing the file(s) you want to import. In this case, browse to /classes/cs225/lab1.
Select the file(s) you want to import by checking their checkboxes. (You can browse through subdirectories of the import directories as needed by expanding things on the left side and clicking on a directory; select a directory checkbox on the left side to import everything in the directory or a file checkbox on the right side to import individual files.) In this case, select (just) Person.java.
Verify that "Into folder" is projectname/src (in this case, lab1/src) - if not, enter the correct name and/or browse to the correct directory.
Click "Finish".
Check that the imported file(s) ended up under "(default package)" in the Package Explorer. If it/they didn't, drag it/them to the right place.
Importing files like this copies them to your project directory - any changes you make will not affect the original copy.
Finally, modify the main program to make use of the Person class:
Add code to your HelloWorld program to prompt the user for their name, read in the user input, create a Person object with that name, and print out "Hello name!" (substituting the name retrieved from the Person object for name) instead of "Hello world!". (Look at Person.java to see how to use the constructor and what methods are available. Remember to only pay attention to public things.) If you don't remember how to read user input or have only used TextIO, start by creating a String variable which stores a name of your choice and use that in place of the user's input. Then review using Scanner once you have the rest of the program working (see section 2.4.6 in the text).
Save everything.
Run the program to make sure it works.
JavaFX is used for creating GUI programs. Actually programming with JavaFX won't be covered until later in the semester, but code may be provided as part of labs or programming assignments that uses JavaFX so you need to be able to run JavaFX programs. This takes a bit of setup because JavaFX is not distributed with the rest of the Java JDK.
Earlier in the lab you configured Eclipse to be able to find the JavaFX libraries on the system. Now you should test your configuration to make sure it works:
Import the file /classes/cs225/lab1/JavaFXDemo.java into your lab1 project. You are welcome to look at the contents of the file if you want, but don't worry about understanding any of what is there.
Run the program contained in JavaFXDemo.
If there are compiler errors after you import the file or runtime errors when you try to run the program, there is something wrong with your JavaFX setup. Double-check the last two steps in the Eclipse setup section above (the two that have to do with JavaFX) and if there are still errors, ask for assistance. If everything is well, running the program should pop up a window with several buttons that you can click.
Eclipse has an extensive online help system available through the "Help" menu. "Help"→"Welcome" is a good place to start for an introduction to Eclipse; "Help Contents" and "Search" are useful if there is something in particular you are looking for help with. "Dynamic Help" can also be handy - it brings up help topics associated with what you are currently doing.
Stop! You are done! The rest of this section is optional - you can check it out if you are already comfortable with Eclipse and want to become more of a power user, but it isn't necessary at this point.
Eclipse is a powerful tool, and does much more than has been described so far or that will be covered in this course. Feel free to explore and to experiment, either now or during the semester. A few things of particular interest:
There's more than one way to invoke many of Eclipse's functions. For example, many of the menu items that come up when you right-click on the project name in the Package Explorer are available from the menubar at the top of the workbench window. You can also right-click on other things, such as in the background of an editor window. There are also keyboard shortcuts for many things.
The "Basic tutorial", found under "Getting Started" in the "Workbench User Guide" (accessible from "Help"→"Help Contents"), takes you through many of Eclipse's features.
The environment is highly configurable. Check out the other preferences available ("Window"→"Preferences"), but you should avoid changing the Code Templates or Formatter settings (at least for this course).
The formatting tools described above are only some of what Eclipse can do. Explore the options on the "Source" menu to see what other possibilities there are - including automatically generating code as well as "Clean Up..." and "Sort Members..." operations. [These features will be more meaningful once we've discussed writing classes.]
Try out refactoring: if you want to rename a variable, parameter, method, or class, highlight the name in question, right click, and use "Refactor"→"Rename..." to automatically change all occurrences of that name.
Investigate Eclipse's assistance features - check out "Tips and Tricks" under the "Help" menu (select "Eclipse Java Development Tools" when asked).